
This article is brought to you by our friends at Adobe Dimension

Although Dimension is not a modeling tool, it continues to release features that empower designers to create their own 3D compositions – without any 3D experience. The latest update includes a feature I personally couldn't be more thrilled about: customizable basic shapes.
The shapes feature opens up a whole new way to play with geometric 3D designs and tailor them to your needs. No longer bound to the simple pre-made shapes that previously came with Dimension, you can now create and tweak your own shapes to your heart's content.
But enough talk. Let's jump into this tutorial!
What we'll be creating
For this tutorial, we'll be creating a geometric sculpture using the new customizable basic shapes feature. Here is what we'll create:

Getting started
As with any creative endeavor, it's helpful to get a rough idea of what you'll be creating so you aren't wandering around aimlessly. Sketching out your idea beforehand is a great way to get a starting point. Even if your end result is wildly different, it's always helpful to have a vision at the beginning.
I've recently been inspired by the Suprematism art movement, and particularly the Arkhitekton works by Kazimir Malevich. I wanted to use the new shapes feature to create similar sculptures using simple geometric shapes.

For colors, I was also inspired by the works of Piet Mondrian.

An easy way to "sketch" out your own scene is to block out your sculpture with simple shapes such as squares or spheres. You can also use tried and true pen and paper as well, of course.
I'm going to start by simply dragging shapes into my scene to block out the basic structure of my composition. Yours doesn't have to be exactly like mine if you want to do your own thing here. Have fun with it.

We will then modify the height, width and depth values of our shapes to get a nice variation in geometry.
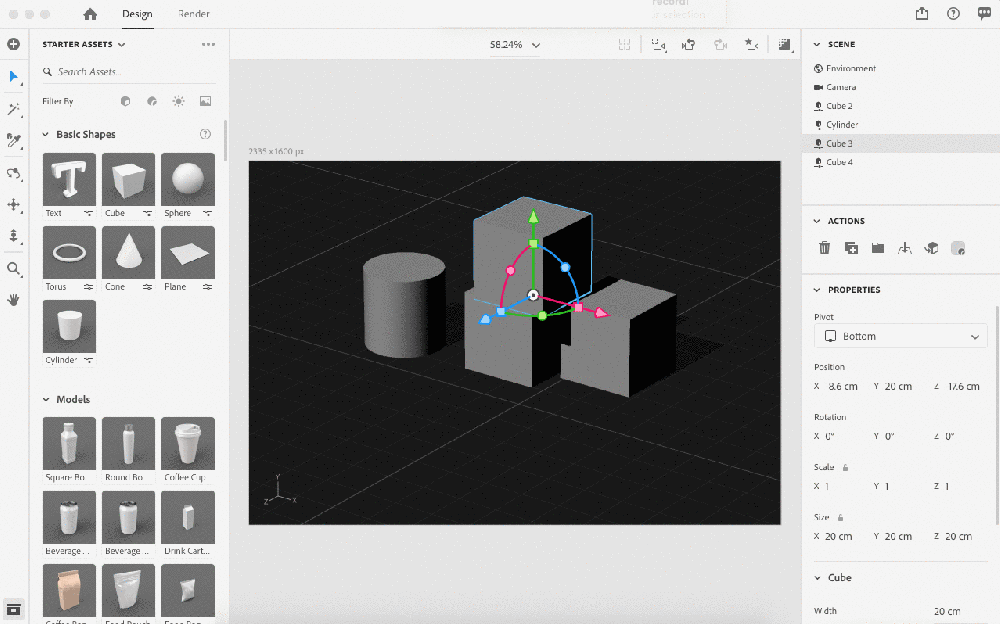
Here is the result of placing some cubes, spheres and cylinders into a simple composition:

Setting our scene and camera
Now that we've laid out the basic sketch of our structure and blocked things out, let's quickly set up our scene and camera.
First, go to the Environment tab and turn "Ground Floor" off, since we will be using our own ground floor. Using our own floor will allow us to assign a custom material to it later for a more realistic final result. To add your ground floor, simply place a plane object onto your scene and resize as needed.

For this example, I've placed a plane object to create my ground floor. I then would like to create a nice aerial, isometric camera angle for my scene. To get an isometric view, just slide the Field of View value all the way to the left to 1 in the Camera Perspective properties.

Using custom shapes
Now that I've got my simple scene blocked out, it's time to start refining the shapes and working in the finer details. You can then start adding some more intricate shapes to fill in around the larger blocks. This will help our composition feel more intricate and visually interesting.
You can choose from a variety of shapes to manipulate and play with in Dimension. For right now, I'm using mostly spheres, cylinders and square objects with a few torus shapes.

Shapes also have a set amount of sides by default. Increasing the number of sides will increase the edge geometry of our shapes, but at the cost of slowing down our scene. It's best to limit the number of sides as much as you can, especially if you have a lot of objects in your scene. The smaller the object, the fewer sides you'll need.

Beveling our edges
An exciting new feature with the latest Dimension update is the ability to bevel the edges of your shapes. Since no real-world objects have truly sharp edges without some sort of rounded edge, the ability to even slightly round the edges of your shapes will greatly increase the realism of your objects.
Let's go ahead and add some beveling to our shapes.

Slicing shapes
In addition to adding a beveled edge, we can also slice our shapes to reduce geometry. Here, I'll create a half-cylinder shape by slicing this cylinder. Let's reduce it to 180 degrees.

Filling in the details
I've now added bevels to all my shapes, as well as half cylinders to make the scene more interesting. I've also added more shapes from the provided shape options, as well as a ladder I created myself from multiple custom cylinder shapes.

For some added visual interest, I'm also going to add some text extrusion shapes. If you haven't already, check out our previous tutorial for creating 3D typography to see how easily you can make these letters.

Setting up our lighting
Now that we've created our geometric structure, it's time to light our scene. Lighting is key to achieving great and realistic 3D results, so it's crucial we get this right.
If you have any experience with photography, you may have heard of a 3-point lighting system.
3-point lighting consists of three key elements: key, rim (backlight) and fill. Key is your main light source. Rim light serves to outline the back of your subject and create depth, and fill light serves to reduce harsh shadowing.
An example of this type of lighting system below:


Luckily, Dimension comes with a way to light your scene exactly this way, and this is what we'll be using.
To get started, go to the lighting area and create a new 3-point lighting setup. You can turn off the environment lighting now if you'd like. I also recommend keeping your materials to the defaults so you won't be distracted with the materials you have set.

The key light will illuminate the front of our object, with the backlight illuminating the outer edges. The fill light will help break up any harsh shadows and provide a nice, soft light to our scene.
PRO TIP: A good trick is to only keep one light on at a time, so you can see how each light is interacting with your scene.

You may need to play around with your lighting values and positions to get the results you want. I will often look at real-world photography as a reference and compare this to my own scene.
Here is the result once I'm happy with my light positioning:


Applying materials
Now that we're happy with the lighting, we can start applying materials to our structure.
For the base, I've applied a polished chrome material I downloaded from Adobe Stock 3D. For the most realistic results, I recommend using materials from either Adobe Stock or Substance Source. Substance Source materials include additional texturing effects that heighten the realism of your objects. Dimension also comes ready with some rich materials, including Substance Materials, in the Starter Assets panel.
To add the material, select all of our objects at once (or the group, if grouped) and apply the material from our Adobe CC material library or by going to File > Import > Place Material on Selection.

I've now also applied multi-colored plastic materials to my objects that I found on Adobe Stock. This red plastic material is a nice base material for my original vision for this scene. I've also added a similar blue plastic material to my ground floor.

If you want to take it even further, you can add additional light reflections to your scene by adding glowing plane objects to your scene. This increases the realism as it allows you to control the size of the light source and create diffused light effects.

Render time!
Now that we've applied our materials, let's get rendering. Rendering means turning your 3D information into a finalized image. Just hit the render button under the Render tab and go!
The result of our render:


As with any of our tutorials, we encourage you to take things further and have fun creating your own designs based on what you've learned. Here are some other examples of what you can do just by playing around with various materials and lighting effects in the same scene:


Don't forget: If you do create something with Dimension, be sure to share your designs to Behance, selecting Adobe Dimension under “Tools Used” in the Basic Info tab. On Instagram, tag #AdobeDimension and #CreatewithDimension. This allows the Dimension team to find and promote your work.
And be sure to tag DESK on Twitter as well, if you create something cool using this tutorial. We'd love to see it!
Jon Vio is a freelance designer, illustrator and Arnold Schwarzenegger fanboy based in Nashville. He also makes a mean hot sauce.